Dec 4 2024
7 min read


Digital signage is a powerful tool for any business, but it can come at a premium. The good news? You don’t have to break the bank to reap the benefits.
If you find the idea of installing digital signage yourself daunting — don’t worry! This guide will be your roadmap to creating eye-catching, budget-friendly digital signs. But first, let’s compare DIY digital signage with professional solutions to see what works best for you.
Digital signage can help you grab attention, inform customers, and ultimately, boost sales. You can implement this technology in two ways: DIY or Full-service.
Choosing the right path depends on several factors. So, let’s explore the pros and cons of each approach:
If you’re willing to invest more time and effort to kickstart your digital signage journey, DIY may be the best option. Not only does it offer more flexibility and learning opportunities, but it’s also significantly cheaper than the full-service approach. We’ve listed down the pros and cons of DIY digital signage to help you get a better picture:
Pros:
1 . Cost-effective: DIY digital signage gives you full control over the hardware and software. This means you can choose options that meet your budget. You won’t have to pay for labor either — which helps save a significant chunk of money.
2 . Scalability: You can add more screens, features, or functionalities without being tied to the limitations of a pre-defined package or contract.
3 . Learning experience: The process of setting up and managing your digital signage will come with lots of learning — helping you improve your technical skills.
Cons:
1 . Time commitment: You’ll need to invest significant time and effort in setting up, designing content, and managing your system.
2 . Technical expertise: Without prior technical knowledge, installation, troubleshooting, and software management can be challenging.
3 . Limited features: You may not be able to access advanced features like scheduling, content management systems, or data analytics.
4 . Ongoing maintenance: You’ll be responsible for all software updates, bug fixes, and hardware repairs.
For minimal hassle and maximum efficiency, full-service solutions are the way to go. But, they’re significantly more expensive than DIY digital signage solutions. Here are the advantages and disadvantages associated with this approach:
Pros:
Convenience: The time and effort you spend is minimal. Your provider will handle everything, from installation and setup to content creation and management.
1 . Expertise: You are guaranteed professional-looking displays with optimal performance given the experience the provider brings.
2 . Advanced features: Access a wider range of features for a more sophisticated experience.
3 . Guaranteed support: Any technical issues you may experience will be handled by the provider.
Cons:
1 . Cost: Full-service solutions come with a significant price tag, including monthly fees for software, hardware, content creation, and support.
2 . Limited control: You may have less creative freedom compared to DIY.
3 . Vendor lock-in: Switching providers can be difficult and costly, as content and system management might be tied to their specific platform.
For cost-conscious businesses with some technical know-how and time to spare, DIY digital signage may be a better fit. In the next section, we’ll dive into how you can set it up from scratch!
Digital signage is taking the world by storm, providing an engaging way to communicate with your audience. But you don’t need to break the bank to reap its benefits. Here are three ways to set up affordable, DIY digital signage:
If you want to set up your digital signage with minimal time and effort, look no further than the trusty USB flash drive! Here, you can repurpose an older TV or monitor with a USB port.
To ensure seamless playback across most TVs and standalone media players, format your USB drive to the FAT file system. This is the most widely supported format for basic media playback devices.
Pro tip: On both macOS and Windows, you can usually format the drive directly from the device settings menu.
Once this is out of the way, use applications like PowerPoint, Keynote, or Google Slides to lay out text and images sized for your TV screen. Add all the photos, videos and any other visual elements your signage needs in a folder. You can export them in either of these formats:
JPG images: This is a simple and universally supported format. Export each slide as a separate JPG image.
MP4 video: This allows for smoother transitions and animation, but not all TVs might support it. If your TV struggles with MP4, stick to individual JPG images.
Finally, copy your exported slides (JPGs or MP4) onto the USB drive and plug it into your TV’s USB port. Some TVs might automatically detect the USB drive and start playing the content as a slideshow.
If yours doesn’t, look for a media button on the remote. Pressing this button might trigger the media player and display the connected USB drive as an input source. Alternatively, you might need to navigate your TV’s input options and manually select the USB drive.
Once selected, explore your TV’s options. You’ll likely see the slideshow of photos and videos you copied. Click on one of the videos, and while it is playing, follow these steps to keep your signage content running on a loop:
1 . Access playback settings using your remote control (usually a “Menu” or “Settings” button).
2 . Look for a “Repeat” or “Loop” option within the playback settings. This might be named differently depending on your TV brand (e.g., “Repeat One,” “Loop All”).
3 . Choose the desired loop mode:
4 . “Repeat One” will loop the current video only once.
5 . “Loop All” will continuously loop all the videos in the folder on your USB drive.
Most TVs have built-in power saving features that automatically turn off the screen after a period of inactivity. You can usually disable or adjust these settings in the TV’s menu. Look for options like “Sleep Timer,” “Auto Power Off,” or “Eco Mode.”
While not the most high-tech solution, the USB flash drive method is a low-cost and relatively easy way to use older TVs for basic digital signage needs.
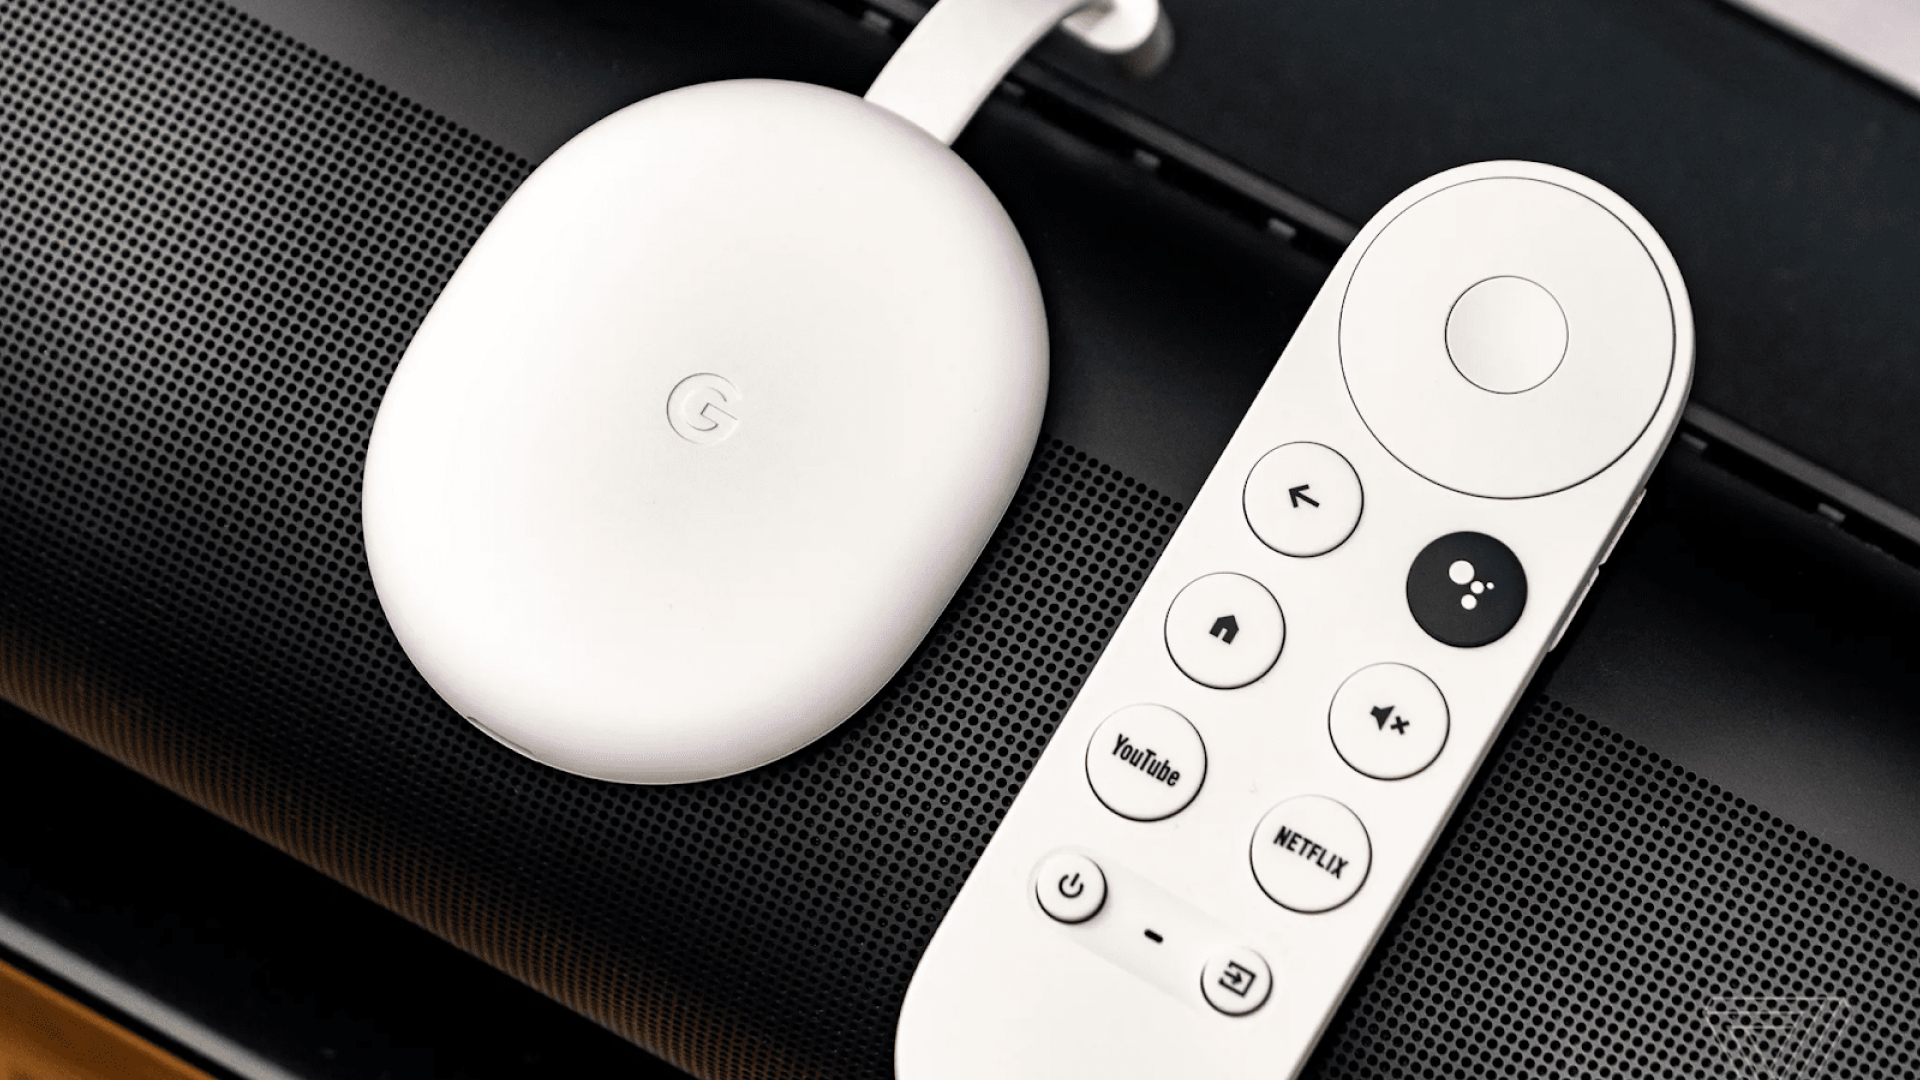
Chromecast is another simple and affordable way to create basic digital signage. Many TVs provide it as a built-in feature, but you can also buy a separate streaming device for about $30-50.

If you’re using a Chromecast device, you’ll need to set it up first by following these steps:
After setting up, you have three content display options to choose from.
Open Chrome on your computer and navigate to the website, image, or video you want to display. Click the three-dot menu in the top right corner and choose “Cast.” Select your Chromecast device from the list. The content will then be displayed on your TV.
Certain apps, like Google Slides or photo gallery apps, might have a built-in casting function. Look for a cast icon within the app and choose your Chromecast device.
There are dedicated digital signage apps available that work with Chromecast. These apps allow you to create playlists, schedule content, and manage your signage remotely. Some popular options include XCast and Postercast. These typically involve installing the app on your phone/computer, creating your content within the app, and then casting it to your Chromecast.
One challenge you may face with this method is Chrome’s restriction to casting to just one Chromecast at a time. Open-source tools like Chromecast Kiosk address this by enabling website casting to multiple Chromecasts simultaneously.
This means you can manage a network of Chromecast-powered TVs as a digital signage system. Unfortunately, these tools haven’t been updated since 2021, potentially hindering compatibility with newer Chrome versions.
Some TVs offer built-in casting capabilities with protocols like UPnP or DLNA. In such cases, the free Go2TV app allows casting video files directly from a computer to compatible TVs. But similar limitations apply here as well. Go2TV requires an active computer on the same network and primarily supports video file casting, not websites or images.
Raspberry Pi devices are essentially single-board computers that are both flexible and affordable (about $35). They provide the computing power behind your digital signage system, and allow for more customization than Chromecast.
Raspberry Pi 4 offers the best performance, but older models like 3B+ can work for basic signage. Remember, these are bare-bones computers with the most basic functionalities. This means you’ll need to have other tools handy — a MicroSD Card, power source, HDMI cable and a keyboard and mouse for initial setup and configuration.
You can choose from several open-source and paid software options. Once you’ve picked one, follow these steps to set up the Raspberry Pi device:
1 . Download operating system: Download the latest Raspberry Pi OS Lite (a lightweight version without a desktop environment) from the official Raspberry Pi website.
2 . Flash the microSD Card: Use a tool like Etcher to flash the downloaded OS image onto your microSD card.
3 . Configure network settings: If connecting to Wi-Fi, create a configuration file with your network credentials and place it on the boot partition of the microSD card. Instructions can be found on the chosen software’s website.
4 . Boot up the Raspberry Pi: Insert the microSD card into the Raspberry Pi, connect the power supply and HDMI cable to your display, and power on the Pi.
After you’ve set up the device, all you need to do is follow the installation guide of the software you’ve chosen. Once installed, the software will usually be accessible through a web browser on a device connected to the same network as the Raspberry Pi.
The software’s documentation will provide the specific web address to access the interface. Using this, you can schedule the playback of your created content playlists and set specific times, dates, or durations for display.
In a nutshell, the answer to this depends on your specific needs. DIY digital signage gives you a very basic casting solution. This means it comes with several challenges like scalability, lack of dedicated signage features, constant external device connection and security vulnerabilities.
To top this off, creating DIY digital signage is a high-effort and time-consuming endeavour. It often requires a good deal of technical knowledge, taking your focus away from core business activities.
Businesses that are serious about sales and brand-building deserve a platform designed by professionals — not one that’s cobbled together with spare parts. A platform that empowers them to create impactful content and schedule it effortlessly, with complete confidence in a smooth and secure experience.
That’s where Pickcel can help. Our team of experts can help you set up user-friendly, intuitive digital signage so you can focus on what matters most — your business! Reach out to our team at Pickcel today for a free consultation.

Dec 4 2024
7 min read
Nov 20 2024
8 min read
Nov 8 2024
6 min read

Oct 17 2024
7 min read
Take complete control of what you show on your digital signage & how you show it.
Start Free Trial Schedule My Demo